Good morning lovelies
I'm here with a new monthly challenge over at
I Love Indigo Blu... I'm excited to announce the Vintage Theme as it is so my thing! You can enter any design which is Vintage by design or colour so go get messy and enter your work to the I Love Indigo Blu Facebook Page here to be in with a chance of winning a fabulous surprise from Kay and Alfie. All the supplies used can be purchased at
Indigo Blu here.
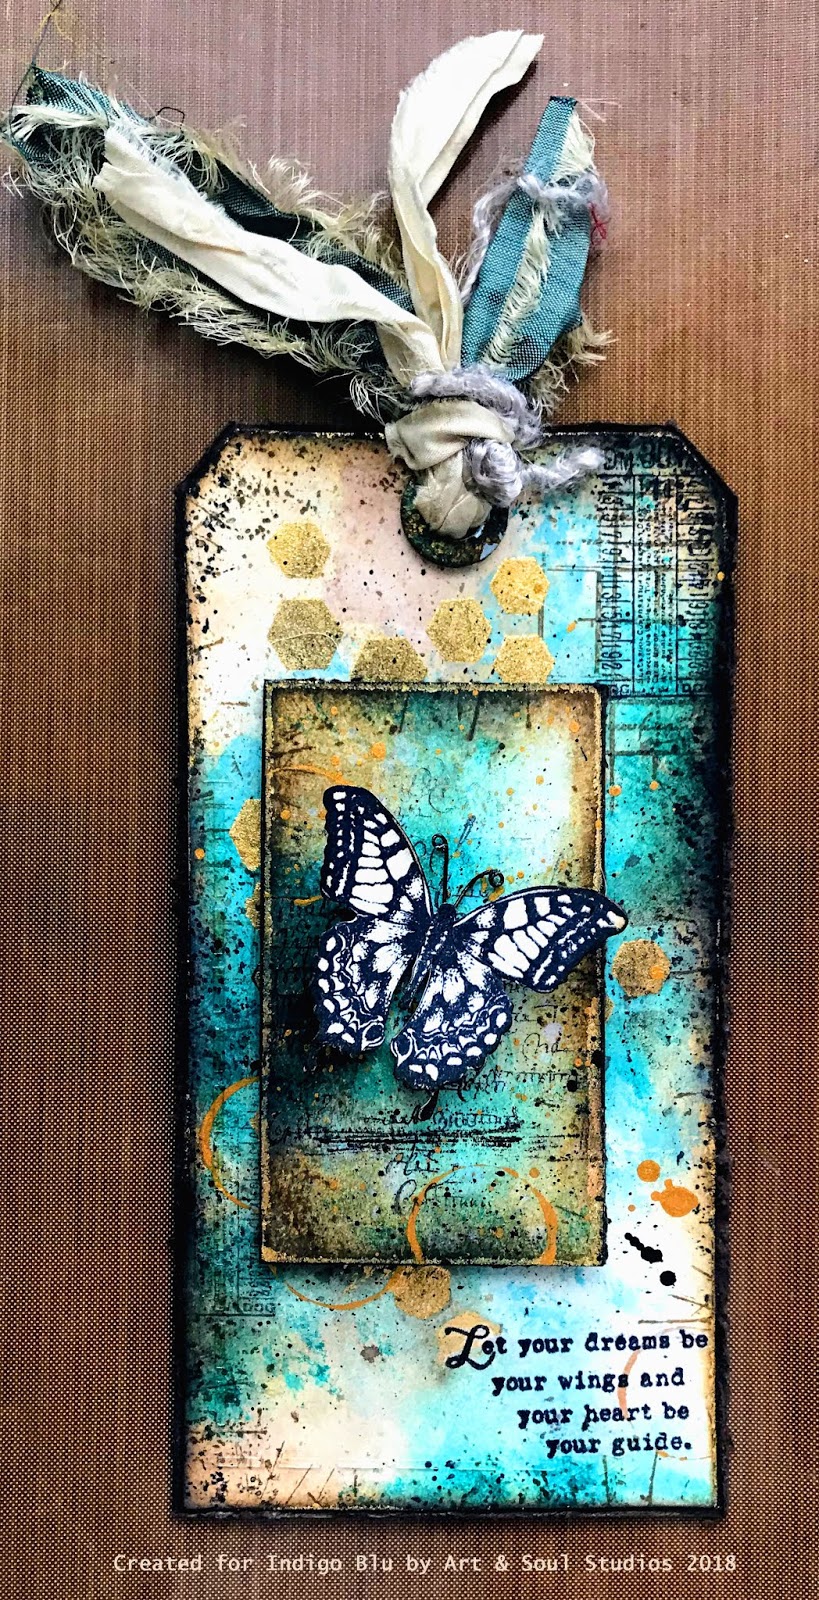
I decided to create a Vintage tag in the hope it inspires you to get creative.
This is how it was created...
Firstly, cut a tag. I used the Tim Holtz Tag Die which is an old favourite but you can just as easily cut one by hand. Cut a panel of cardstock 5cm x 8.5cm and repeat the process used on the tag but don't stamp the background
Take a clean baby wipe and gently apply Warm tan Acrylic Paint to areas of the tag
Next stamp the Ledger Background Stamp using Vintage Photo Distress Ink
Now apply Townhouse Teal using a baby wipe. Try not to cover the previous application of paint completely, although the picture doesn't show the previous colour very well but it is still there.
Apply Teal for Two Acrylic Paint to add a little depth in colour before adding Ugly Duckling Acrylic paint to the edges of the card tag using Phatt Foam. Mix a little Ugly Duckling Paint with water on the edge of a Slim Jim Acrylic sheet. Using a paint brush, flick the paint off the edge onto the tag to create splatters
Stamp a ticket from the Grand Tour I Set in random areas using black archival ink. Ensure the whole tag is dry before rubbing over with a tumble drier sheet to remove any static. Take a piece of Phatt Foam and apply Flitter Glue sparingly through the Blueprint Stencil. Add Chariot of Fire Flake and remove and buff the excess using the rough side of a sponge. Catch the edges of the tag and additional panel using the Phatt Foam and the remaining Flitter Glue before repeating the Flake stage.
Take Walnut Stain Distress Ink and the splatter edge stamp from the Rugged Edge Stamp Set and catch the edges of the tag and panel until happy with the result. You can catch the edges with the ink pad to add extra depth and definition if required. Mount the tag and panel onto Dark Brown Cardstock. Remove the circle at the top of the tag using a punch or scissors
Take a metal washer and add Hot Cocoa Acrylic paint and dry with a heat tool - TAKE CARE this will be HOT). Now apply a little Townhouse Teal randomly and reheat. Repeat the process with Teal for Two and Goldfinger to create the effect of faux metal. Stick over the hole at the top of the tag using Super Slap it On
Add a little Goldfinger Acrylic paint to a craft mat. Dip a circle top into the paint and add randomly to the tag. Add a little to a Slim Jim with water and flick onto the tag and panel. Repeat with Gee So Good Black Gesso. Add a few random lines by dipping the edge of a steel ruler into the paint
Stamp the butterfly from the collectors Edition No. 13 using Black Archival and Indigo Blu Watercolour Cardstock. Cut out the Butterfly and attach metal antenna using thin wire. Stamp text from the Tasty Textures Stamp Set onto the middle of the panel before attaching to the tag using foam pads. Add the butterfly using 3D Gel
Stamp the quote from Nature III onto Rice Paper. Ensure it is dry before adding to the tag using Matte Medium. Add a few fibres through the hole to finish the tag
I hope you've enjoyed my interpretation of Vintage? Please leave a comment below if you have found this tutorial helpful and don't forget to enter the Challenge to be in with a chance to win a prize from Indigo Blu
Right, I'm off to make Samples for Indigo Blu's Christmas Show on Sunday 27th August... Jingle Bells, Jingle bells, Jingle all the way...
Hugs for now, Julie x